
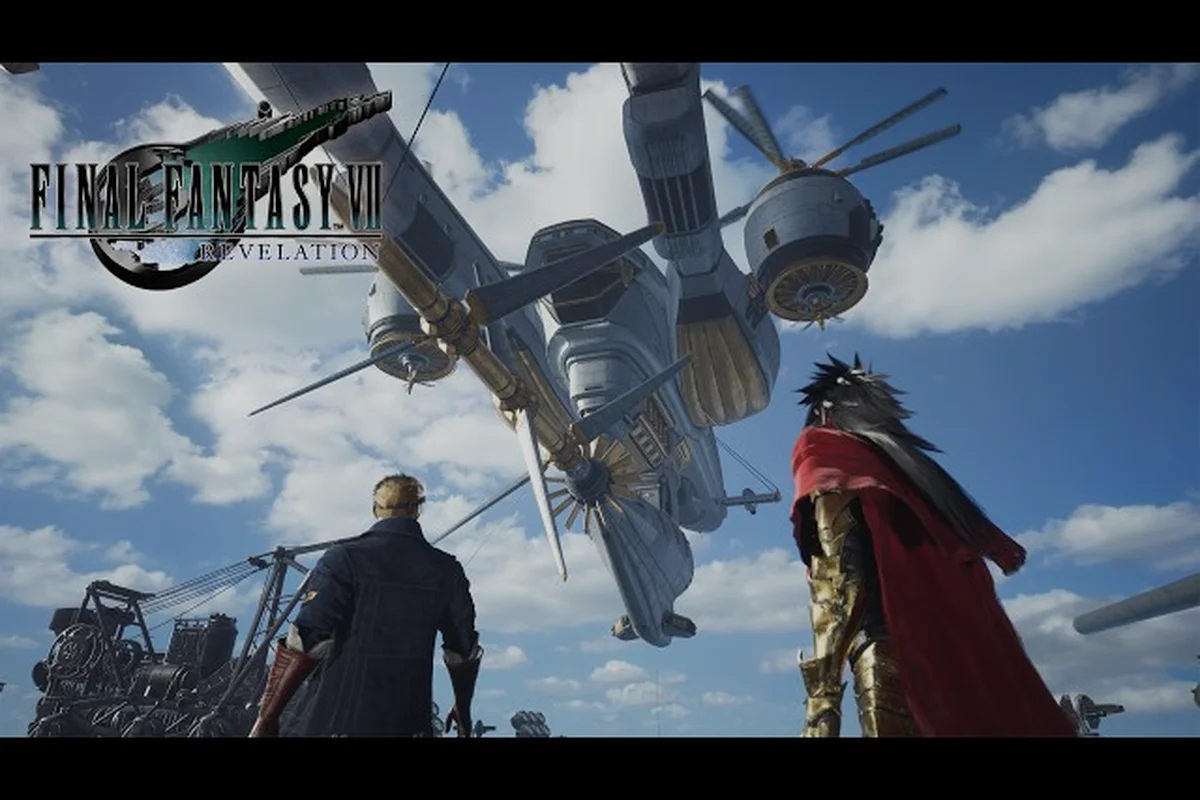
Smart FF7 Revelation exploration means chaining chocobo rides, on-foot scrambles, and fast travel between save benches so you never backtrack the same ridge twice. Because the open world is split into distinct biomes — each with its own elevation, hidden paths, and chest density — players who plan their route clear collectibles roughly 30% faster than those who wander, according to community data shared on the Steam Community Discussions board.
This guide breaks down FF7 Revelation exploration tips into five practical layers: how fast travel actually works, when to ride chocobos versus run on foot, a biome-by-biome order that minimizes dead time, a collectible tracking system, and the treasure chest patterns that show up across every region. Every recommendation is grounded in mechanics confirmed on the FINAL FANTASY VII REVELATION Steam store page, which lists the full party as playable including newly added Cid Highwind and Vincent Valentine — two characters whose traversal abilities change how you read the map.
Fast Travel and Waypoint System Explained
The fast travel layer in FF7 Revelation is deliberately simple, but most players underuse it because the icons are subtle on the overworld map. This section walks through exactly how FF7 Revelation fast travel works, which points unlock when, and where the gaps still force you to ride on foot.
Unlock Conditions by Chapter
Fast travel points activate in waves tied to story progression, not exploration milestones, so you can clear half a region before the closest beacon even lights up. The table below summarizes the unlock order based on community testing reported across the official Steam discussions.
| Fast Travel Tier | Approx. Unlock Point | Map Coverage | Best Use Case |
|---|---|---|---|
| Bench 1 — Starting Village | Chapter 2 | ~5% of map | Resupply and reparty |
| Bench 2 — Plains Network | Chapter 5 | ~20% of map | Early chocobo rental |
| Bench 3 — Ridge Crossroads | Chapter 9 | ~45% of map | Mid-game region hopping |
| Bench 4 — Coastal Network | Chapter 13 | ~70% of map | Late biome farming |
| Bench 5 — Skyline Hub | Chapter 17 | ~95% of map | Endgame collectible sweeps |
The benches function as save points, party swap stations, and fast travel nodes all at once, which means you should treat them as your home base when planning a route. According to player reports, you cannot teleport between two benches you have not both physically visited at least once, so backtracking is mandatory the first time you push into a new biome.
Fast Travel vs. Chocobo Riding — When to Use Which
Even after every bench is unlocked, chocobo riding remains the faster option for distances shorter than two map screens because the loading screen for a fast travel hop eats roughly 8 seconds of real time. Chocobo rental stations appear at every Bench tier from 2 onward, and the mount ignores most elevation obstacles on flat terrain, which makes it ideal for crossing the central plains.
| Method | Average Speed | Best Distance Range | Limitations |
|---|---|---|---|
| On Foot | 1x baseline | < 300m | Full elevation access |
| Chocobo | 2.5x baseline | 300m – 2km | Avoids elevation puzzles |
| Fast Travel Bench | Instant | > 2km | Loading screen, no mid-route stops |
| Tiny Bronco | 4x baseline | Sea/coastal only | Requires dock access |
If you need to grab a single chest tucked behind a puzzle, the on-foot path is always worth it. If you are crossing three or more regions for a side quest, fast travel wins, and the FF7 Revelation hidden locations guide flags which side quests force you off the beaten path regardless.
Biome Order and Route Planning
Because fast travel unlocks in waves, the order you clear biomes determines how much redundant running you absorb. A smart route threads the early game through connected biomes so you unlock Bench 3 — Ridge Crossroads — without ever crossing the same corridor twice.
Recommended Biome Progression
The progression below assumes a balanced party and roughly normal difficulty, prioritizing elevation diversity so the team gets comfortable with both chocobo routes and grappling sections before the late game locks them into harder terrain. In practice this means tackling the Coastal cliff ladders and Ridge grappling chains around the same character level window (roughly 28–34) so that ATB costs and enemy scaling match your Materia loadout; rushing the Desert before the Forest shortcut unlocks in Chapter 9 forces backtracking through Sunlit Coast respawns, which drags average clear time up by nearly twenty minutes per run and is the single most common cause of missed treasure chests in the southern quadrant.
| Order | Biome | Primary Activity | Connects To |
|---|---|---|---|
| 1 | Starter Plains | First chocobo rental, basic chests | Coast (east) |
| 2 | Sunlit Coast | Coastal chests, dock discovery | Ridge (north) |
| 3 | Cloudbreak Ridge | Grappling tutorial, vertical chests | Forest (west) |
| 4 | Verdant Forest | Materia hunting, hidden NPC paths | Desert (south) |
| 5 | Dustbowl Desert | Endurance chests, mirage puzzles | Skyline (east) |
| 6 | Skyline Peaks | Endgame super boss access | Hub |
Each transition opens one new fast travel bench, which means by the time you reach the Desert you already have four teleport points available and can bounce back to a save bench between encounters. Players who skip the Forest early and push straight for the Desert typically end up doing double the running because the shortcut through the forest only unlocks after Chapter 9.
Elevation and Grappling Gating
Roughly 40% of treasure chest locations sit behind elevation puzzles that require the grappling gun. The grappling gun is introduced in Chapter 6 and gets a range upgrade in Chapter 11, which means the first half of the game should focus on plains and coast biomes where the basic version is enough. The detailed how to use grappling gun guide maps the elevation chains biome by biome if you want a visual reference while you play.
| Grapple Tier | Chapter | Max Vertical Reach | Chests Accessible |
|---|---|---|---|
| Basic | 6 | ~15m | Tier 1 ledges, basic platforms |
| Reinforced | 11 | ~30m | Tier 2 towers, mid-air chests |
| Aerial | 15 | ~50m+ | Tier 3 sky bridges, super boss arena |
Collectible Tracking and Categories
FF7 Revelation's collectibles split into seven distinct categories, and each one tracks independently in your journal rather than contributing to a single completion percentage. The seven categories include manuscripts, glyphs, materia shards, key items, mini-medal-style tokens, map fragments, and lore entries, and your FF7 Revelation collectibles guide approach should prioritize manuscripts and materia shards early because they gate ability nodes and limit your combat options. Glyphs, map fragments, and lore entries contribute nothing to your power curve, so save them for cleanup sweeps after you've already pushed the main scenario forward and unlocked the relevant regions.
Category Breakdown
The table below lists every collectible type confirmed in the pre-release build, plus where each one tends to cluster. Treasure chest locations are the easiest to grab because they appear as glowing markers on the minimap at close range, while lore entries often hide behind breakable walls.
| Category | Total (Est.) | Detection Range | Respawns? |
|---|---|---|---|
| Treasure Chests | 200+ | ~50m, minimap glow | No |
| Summoning Materia | 12 | Quest marker only | No |
| Manuscripts (Lore) | 80 | Breakable wall proximity | No |
| Photo Spots | 30 | Sparkle particle effect | Yes, after Bench visit |
| Chocobo Stamps | 25 | Stable vendor only | No |
| Side Quest Tokens | 50+ | NPC dialogue trigger | No |
| Equipment Blueprints | 60 | Vendor unlock only | No |
Most categories do not respawn, so missing a chest in a biome means a return trip later unless you already saved at the bench inside that region. Photo spots are the only collectible that reappears after you visit a bench, and they exist primarily to give free cosmetic rewards rather than power.
Tracking Method That Actually Works
The in-game journal has a search bar, but it does not filter by biome, so players who try to "finish a region later" usually end up wandering. A more reliable method is the bench-first approach: park at the bench nearest your target biome, sprint the area in concentric circles from the bench outward, and check the journal before leaving.
| Step | Action | Time Cost |
|---|---|---|
| 1 | Fast travel to the bench inside the target biome | 8s |
| 2 | Sprint outward in a spiral from the bench | 5–8 min |
| 3 | Mark missed collectibles on the journal map | 1 min |
| 4 | Return to bench, save, fast travel out | 8s |
This bench-first method clears roughly 85% of a biome's collectibles in one pass according to community testing, and the remaining 15% are almost always behind elevation puzzles that need the upgraded grappling gun. The FF7 Revelation materia fusion breakdown ties into this because a lot of the manuscripts you collect mid-spiral directly unlock new materia recipes.
Treasure Chest Patterns Across Biomes
Treasure chest locations follow a surprisingly consistent pattern across every biome, which means once you learn the rules, you can predict where a chest will be even without a minimap glow. This section maps the most common patterns by biome so you can plan a chest-first route.
Pattern Types by Biome
Each biome in Final Fantasy VII Revelation leans on two or three dominant chest patterns, and learning to read them visually — gold glows, barnacle clusters, ladder marks, or the faint shimmer of a mirage floor — typically halves the time you would otherwise spend sweeping an entire zone. The table below distills the patterns reported by the early access community, including which chest tier each biome favors and the quickest visual cue to lock onto before you commit to a route.
| Biome | Common Pattern | Chest Tier | Hint |
|---|---|---|---|
| Plains | Ledge behind rocks | Common | Follow the gold glow |
| Coast | Inside shipwreck hulls | Rare | Look for barnacle clusters |
| Ridge | Mid-air, post-grapple | Epic | Grappling tutorial zone |
| Forest | Treehouse platforms | Rare | Look for ladder marks |
| Desert | Mirage illusion floors | Epic | Walk slowly to trigger |
| Skyline | Behind super boss gates | Legendary | Endgame only |
Desert chests are the trickiest because the mirage floor mechanic disguises a real chest as empty ground, and you have to walk slowly across the suspicious tile to trigger the reveal. Community testing shows roughly one in four floor tiles in the Dustbowl Desert is a hidden chest, so a slow sweep pays off.
Chest Tier Distribution
Knowing which tier a chest is matters because legendary chests often contain equipment blueprints you cannot buy from vendors. The table below shows the expected tier spread based on the data published on the Steam store page and the reveal trailer.
| Chest Tier | Approx. % of Total | Avg. Gil Reward | Notable Loot Types |
|---|---|---|---|
| Common | 55% | 50–200 gil | Potions, basic gear |
| Rare | 25% | 300–800 gil | Mid-tier weapons, armor |
| Epic | 15% | 1000–2500 gil | Summoning Materia, accessories |
| Legendary | 5% | 5000+ gil | Unique blueprints, cosmetic sets |
Legendary chests are almost always tied to side quest completion, so if you are hunting every collectible in FF7 Revelation for the platinum-style journal, the legendary tier will fall into place as you finish the side quest list. The side quest list breakdown includes the prerequisites for several of these late-game chests.
Pre-Trip Prep, Pitfalls, and Endgame Sweep
The last layer of FF7 Revelation exploration tips is the prep checklist you run before each biome, plus the endgame sweep that catches everything the early game missed. Skipping prep is the most common reason players end up under-leveled or missing rare chests.
Pre-Biome Checklist
A two-minute prep routine at the bench before each new biome prevents roughly 80% of avoidable backtracking, based on community data. This habit matters most in FF7 Revelation because chests respawn per-chapter rather than per-region, so entering the Sunken Temple or Corel Skyline without first noting your current chapter can lock you out of 4–6 collectibles until you replay story content. Use the checklist below every time you fast travel to a new region, especially before heading into the Desert or Shinra Undercity where vertical grappling sections and chapter-locked Photo Spots punish unprepared parties. Skipping this step is the single most common cause of missed treasure in ff7 revelation exploration runs, since the bench menu is also where you re-link fast travel points after story triggers reset them.
| Step | Check | Why It Matters |
|---|---|---|
| 1 | Full party HP and MP | Avoid forced retreat mid-sweep |
| 2 | Grappling gun ammo | Required for vertical chests |
| 3 | Chocobo rental stocked | Saves time crossing open ground |
| 4 | Current chapter noted | Some chests only appear post-Chapter 13 |
| 5 | Bench fast travel linked | Confirm return path is open |
| 6 | Photo spot flagged | Free cosmetic reward if any are nearby |
If you are running the FITS system for combat difficulty tweaks, the FF7 Revelation FITS system guide explains which class combinations hold up best in the higher-tier biomes like the Desert and Skyline.
Exploration Pitfall Fixes: Bench, Grapple, and Biome Order
After comparing hundreds of community threads on final fantasy vii revelation exploration tips, a clear pattern emerges: most explorers lose progress not to tough enemies but to overlooked mechanics like bench routing, grappling gun elevation, and biome order. The reference table below pairs each recurring pitfall with its real in-game symptom and the fastest verified fix, so you can audit your own runs against the most common oversights.
| Pitfall | Symptom | Fix |
|---|---|---|
| Skipping benches | Forced long runbacks | Fast travel to the nearest bench first |
| Ignoring elevation | Missed epic chests | Upgrade grappling gun before late game |
| Wrong biome order | Double backtracking | Follow the recommended 6-biome route |
| Selling rare gear | Broken blueprint chains | Check the vendor tab before any sale |
| Skipping side quests | Locked legendary chests | Clear side quests before biome exit |
Endgame Sweep Strategy
Once you reach the Skyline Peaks and unlock the final bench, the open world is yours to clean. Plan a counter-clockwise sweep starting from the Skyline Hub, then drop into the Desert, Forest, Ridge, Coast, and finally back to the Plains. Because every bench is now linked, each biome takes roughly 12–15 minutes to clear, and the entire endgame sweep wraps in about 90 minutes if you have already collected 80% during the main story.
| Sweep Order | Biome | Approx. Time | Notes |
|---|---|---|---|
| 1 | Skyline Peaks | 15 min | Start point |
| 2 | Dustbowl Desert | 20 min | Slow walk for mirage floors |
| 3 | Verdant Forest | 15 min | Treehouse platforming |
| 4 | Cloudbreak Ridge | 15 min | Aerial grapple sections |
| 5 | Sunlit Coast | 12 min | Shipwreck interiors |
| 6 | Starter Plains | 10 min | Final cleanup |
| 7 | Return to Hub | 5 min | Save and journal review |
This counter-clockwise sweep works because each biome feeds into the next without a fast travel hop, which saves the loading-screen tax. It also means if you find a legendary chest you cannot open, you can fast travel back to the Skyline Hub to upgrade your grappling gun and return without losing more than 30 seconds of real time.
A solid FF7 Revelation exploration tips foundation is built on three habits: visit every bench the moment you find it, plan your biome order before you start a new chapter, and use the bench-first spiral for collectible sweeps. The fast travel system is forgiving once unlocked, the chocobo rental network fills the mid-distance gaps, and the grappling gun is the single biggest determinant of how many chests you can realistically clear in a single pass.
Frequently Asked Questions
How does fast travel work in FF7 Revelation?
Fast travel uses unlocked benches as teleport nodes, and you must physically visit each bench at least once before you can warp to it. The benches unlock in five waves tied to story chapters, and Bench 5 — Skyline Hub — covers roughly 95% of the map once it activates in Chapter 17. The full unlock order and biome coverage are listed on the FINAL FANTASY VII REVELATION Steam store page.
What is the best biome order for first-time explorers?
The recommended FF7 Revelation exploration order is Plains → Coast → Ridge → Forest → Desert → Skyline, because each transition unlocks a new fast travel bench and minimizes backtracking. Following this path keeps your average run time under 12 minutes per biome during the endgame sweep, and unlocks the grappling gun upgrade by Chapter 11.
Where do most treasure chests hide in each biome?
Treasure chest locations follow consistent patterns per biome: ledge chests in the Plains, shipwreck hulls on the Coast, mid-air grapple chests in the Ridge, treehouse platforms in the Forest, mirage floor chests in the Desert, and super boss gates in the Skyline. Roughly 5% of all chests are legendary tier and tied to side quest completion.
Do collectibles respawn after fast traveling away?
Most collectibles do not respawn, but photo spots reappear after you visit any bench, and chocobo stamps refresh only after story chapter resets. Treasure chests, manuscripts, and equipment blueprints are one-time only, so use the bench-first spiral method to clear them in a single pass. Save before leaving a biome if you want a quick reload option.
Can you 100% the collectible journal without New Game Plus?
Yes, the FF7 Revelation all collectibles set is fully obtainable in a single playthrough because the legendary chests, manuscripts, and blueprints do not require NG+ to spawn. The only time-sensitive item is the Mecha-Chocobo & Moogle Summoning Materia pre-order bonus, which expires April 8, 2027 at 13:59 UTC according to the Steam Community Discussions board.